Operating Room Products : Resurfacing (Repair)
Before you start your repair, please read the instructions below.
Consult your individual facility’s protocol for resurface or repair of any product.
Products with foam and fabric are not recommended for resurfacing. If damaged, we recommend they be removed from service, discarded and replaced immediately.
Polymer products may be resurfaced if they have minor cuts or light abrasions only. Multiple attempts to resurface a single product are not recommended. Presence of tears, gouges, large cracks, bubbles, or excessively deep creases indicates a product should be removed from service, discarded and replaced.
Inspect any resurfaced product before each use to ensure the film resurfacing tape remains secure and clean. There should be no loose edges or presence of debris.
Download a PDF of the Operating Room Products Resurfacing Repair guide.
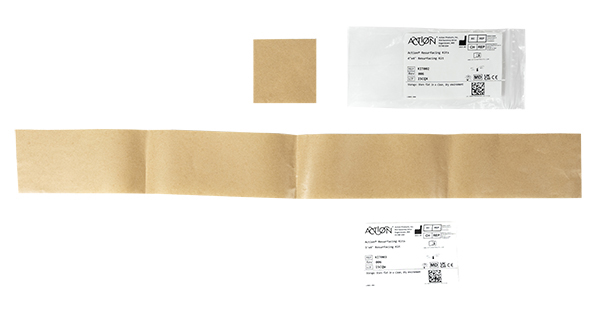
Action® Resurfacing Kits
Two sizes of resurfacing kits are available for use.
KIT002 – Resurfacing Patch: 4″ x 4″
KIT003 – Resurfacing Roll: 36″ x 4″
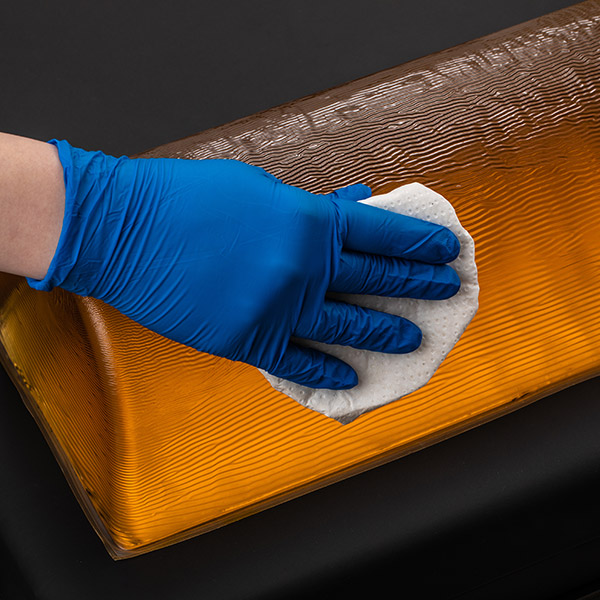
Step 1: Clean and disinfect according to this Guide prior to resurfacing the product.
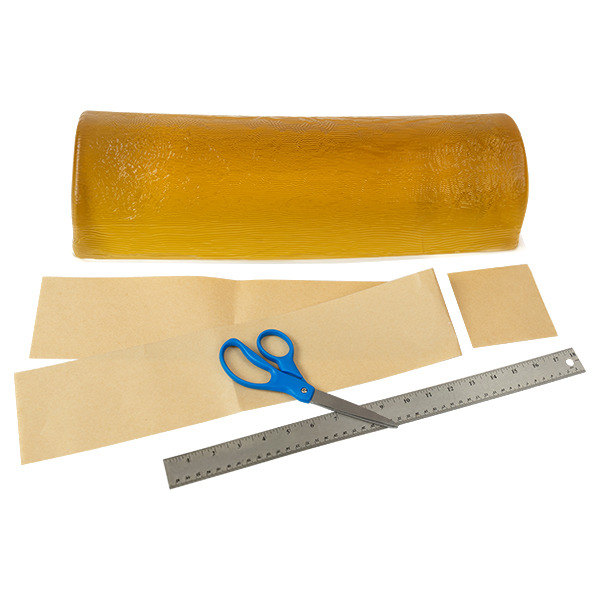
Step 2: If necessary, cut film tape to proper size, allowing a 0.25 – 0.5” (0.6 – 1.3cm) border of film to ensure damaged area is fully encased beneath the film.
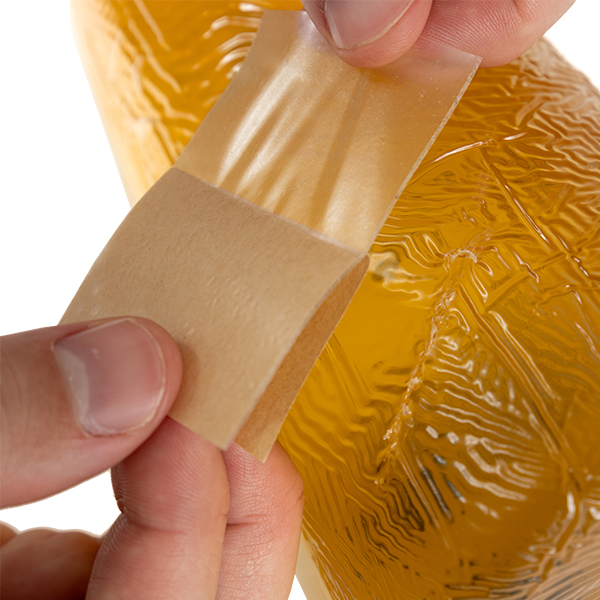
Step 3: Carefully peel back one-half of release paper and crease it.

Step 4: Carefully adhere exposed portion of film tape to damaged surface, pushing out any air bubbles that may become trapped beneath the film tape.
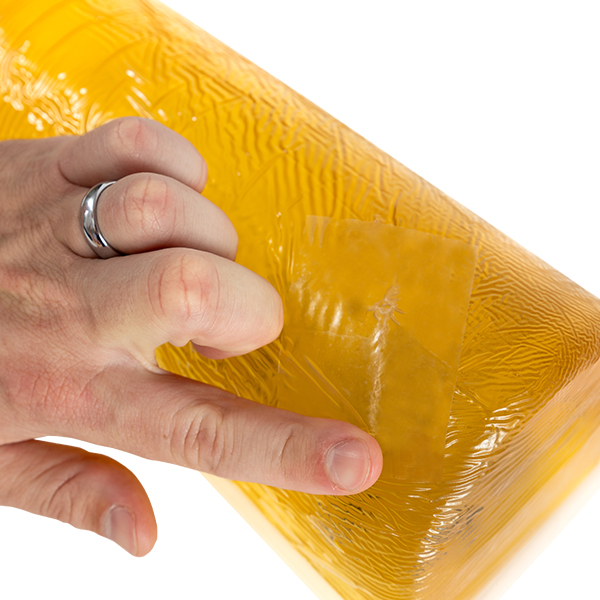
Step 5: Continue to apply tape while slowly removing the release paper until film tape is firmly secured to the product surface.

Step 6: Clean and disinfect product before placing it into service.

